
Safely Jump Start Your Diesel Car: A Comprehensive Guide
If your car with a diesel engine has a dead battery, follow these steps to jump start it safely and get back on the road.
Key Takeaways:
- Ensure both vehicles are in park or neutral with the parking brakes on.
- Turn on the heater in the disabled vehicle to protect the electrical system.
- Connect the jumper cables to the battery in the proper order.
- Start the engine of the source vehicle and the disabled vehicle.
- Disconnect the cables in reverse order and drive the disabled vehicle for at least 15 minutes to fully charge the battery.
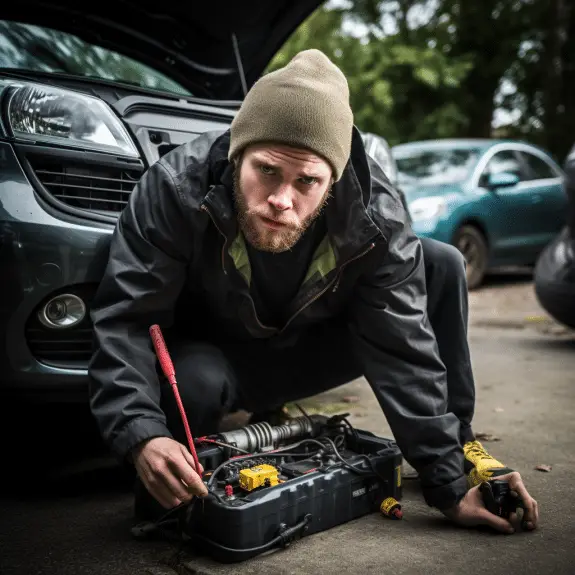
Preparing for Jump Start
Proper preparation is crucial for a successful jump start. Follow these steps to prepare both vehicles and ensure a smooth jump start process.
- Make sure both vehicles are in park or neutral with the parking brakes on.
- Turn on the heater in the disabled vehicle to protect the electrical system.
- Ensure that all lights and electrical accessories in the disabled vehicle are turned off.
Now that the vehicles are ready, it’s time to connect the jumper cables.
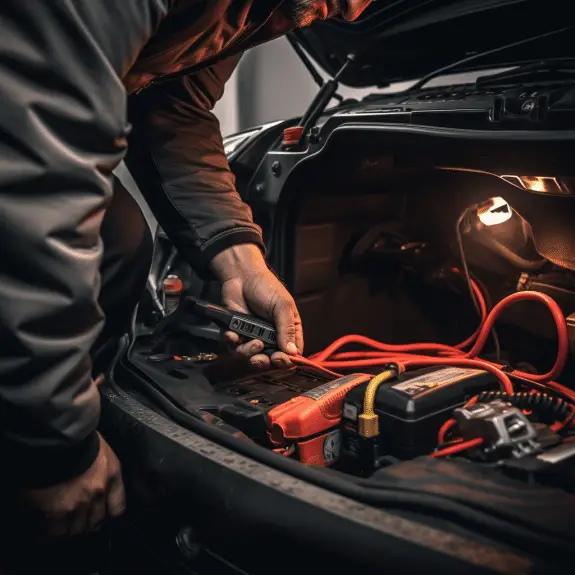
Connecting Jumper Cables
- Connect the jumper cable’s clamp on one end to the positive terminal of the disabled vehicle’s battery.
- Connect the other end of the same jumper cable to the positive terminal of the source vehicle’s battery.
- Connect one end of the other jumper cable to the negative terminal of the source vehicle’s battery.
- Connect the other end of the jumper cable to an unpainted, metallic part of the disabled vehicle, away from moving parts.
With the cables securely connected, it’s time to start the vehicles.
Starting the Vehicles
- Start the engine of the source vehicle, then start the engine of the disabled vehicle.
- Let both engines run for a minute or two, longer if the battery has been dead for a while.
- Turn off the engine of the source vehicle.
Now that the jump start is complete, it’s important to safely disconnect the jumper cables.
Disconnecting the Jumper Cables
- Remove the cable from the unpainted metal part of the disabled vehicle.
- Disconnect the cable from the positive terminals of both vehicles.
- Disconnect the cable from the negative terminal of the source vehicle.
Lastly, remember to drive the disabled vehicle for at least 15 minutes to fully charge the battery.
Connecting Jumper Cables
Connect the jumper cables correctly to ensure a proper connection between the disabled vehicle’s battery and the source vehicle’s battery. The process may vary depending on the number of batteries in each vehicle. If both vehicles have dual batteries, use the thicker cables and connect them to the positive terminals of the batteries. However, if only one battery is present, it is essential to hook up the cables in the proper order.
Note: Prior to connecting the jumper cables, ensure that both vehicles are in park or neutral with the parking brakes engaged. This will prevent any unexpected movement and ensure safety during the jump-start process.
Follow these steps to properly connect the jumper cables:
- Connect one end of the jumper cable to the positive terminal of the disabled vehicle’s battery.
- Connect the other end of the same jumper cable to the positive terminal of the source vehicle’s battery.
- Next, connect one end of the other jumper cable to the negative terminal of the source vehicle’s battery.
- Lastly, connect the other end of the jumper cable to an unpainted, metallic part of the disabled vehicle, away from any moving parts.
By following these steps, you ensure a secure and efficient connection between the batteries of the disabled vehicle and the source vehicle. This connection is crucial for the successful jump start of a car with a diesel engine.
| Step | Description |
|---|---|
| 1 | Connect one end of the jumper cable to the positive terminal of the disabled vehicle’s battery. |
| 2 | Connect the other end of the same jumper cable to the positive terminal of the source vehicle’s battery. |
| 3 | Connect one end of the other jumper cable to the negative terminal of the source vehicle’s battery. |
| 4 | Connect the other end of the jumper cable to an unpainted, metallic part of the disabled vehicle, away from any moving parts. |
Starting the Vehicles
After connecting the jumper cables, it’s time to start the vehicles and initiate the jump start process. Here are the steps to follow:
- Make sure both vehicles are in park or neutral with the parking brakes on.
- Turn on the heater in the disabled vehicle to protect the electrical system.
- Ensure that all lights and electrical accessories in the disabled vehicle are turned off.
- Connect the jumper cables to the battery with thicker cables in a vehicle with dual batteries. If both vehicles have dual batteries with cables of the same thickness, use either battery for the jump. If there is only one battery, hook the cables up in the proper order.
- Connect the clamp on one end of the jumper cable to the positive terminal of the disabled vehicle’s battery.
- Connect the other end of the same jumper cable to the positive terminal of the source vehicle’s battery.
- Connect one end of the other jumper cable to the negative terminal of the source vehicle’s battery.
- Connect the other end of the jumper cable to an unpainted, metallic part of the disabled vehicle, away from moving parts.
- Start the engine of the source vehicle, then start the engine of the disabled vehicle.
- Let both engines run for a minute or two, longer if the battery has been dead for a while.
- Turn off the engine of the source vehicle.
- Remove the cable from the unpainted metal part of the disabled vehicle.
- Disconnect the cable from the positive terminals of both vehicles.
- Disconnect the cable from the negative terminal of the source vehicle.
- Drive the disabled vehicle for at least 15 minutes to fully charge the battery.
If the battery dies again after jump-starting, it may need to be replaced. Consult the vehicle’s manual for the proper battery specifications. It’s important to follow safety precautions and avoid smoking or touching the wires or devices when jump-starting.
Disconnecting the Jumper Cables
Once the disabled vehicle is running, it’s important to disconnect the jumper cables safely and understand the different types of car batteries and their lifespan.
To disconnect the jumper cables, follow these steps:
- Turn off the engine of the source vehicle.
- Remove the cable from the unpainted metal part of the disabled vehicle.
- Disconnect the cable from the positive terminals of both vehicles.
- Disconnect the cable from the negative terminal of the source vehicle.
After disconnecting the jumper cables, it’s crucial to pay attention to different types of car batteries and their lifespan. Understanding the various battery options can help you make an informed decision about replacement if necessary. Here are the most common types of car batteries:
| Battery Type | Advantages | Disadvantages |
|---|---|---|
| Lead Acid Batteries | Reliable and affordable | Require regular maintenance and can be heavy |
| AGM (Absorbent Glass Mat) Batteries | No maintenance required, can withstand deep discharge cycles | More expensive than lead acid batteries |
| Lithium-Ion Batteries | Lightweight, longer lifespan, and faster charging | Higher cost, sensitive to extreme temperatures |
Each type of battery has its own advantages and disadvantages. When considering battery replacement, consult your vehicle’s manual for the recommended battery type and specifications. Additionally, it’s important to be aware of the expected lifespan of different car batteries. On average, a lead acid battery can last between 3 to 5 years, while AGM batteries have a lifespan of 4 to 7 years. Lithium-ion batteries can last up to 10 years.
By following the proper procedures for disconnecting the jumper cables and understanding the different types of car batteries and their lifespan, you can ensure a safe and successful jump start experience.
Charging the Battery
After jump-starting the vehicle, it’s essential to drive it for a specific duration to allow the battery to fully charge. This helps ensure that the battery is replenished and ready for future use. Driving the car for at least 15 minutes will provide enough time for the alternator to generate electricity and recharge the battery.
It’s important to note that the charging duration may vary depending on the battery’s condition and the length of time it was dead. If the battery has been completely drained for an extended period, it may require a longer drive to reach a full charge. Additionally, if the battery does not hold a charge after repeated jump-starts, it may be a sign of a faulty battery that needs replacement.
During the drive, it’s advisable to avoid using excessive electrical accessories such as the air conditioning, radio, or power windows. This helps prioritize the charging process and conserves energy for the battery. It’s also important to drive the vehicle at varying speeds and distances to allow the alternator to operate efficiently and provide a thorough charge.
Table: Car Battery Charging Tips
| Tips | Description |
|---|---|
| Avoid short drives | Short drives may not provide enough time for the battery to charge fully. Opt for longer drives to ensure optimal charging. |
| Minimize electrical load | Reduce the use of electrical accessories during the drive to prioritize the battery’s charging process. |
| Vary driving speeds | Driving at different speeds helps the alternator generate electricity more efficiently, leading to a better charge. |
| Consistent charging | If the battery continues to drain quickly after jump-starting, it may be necessary to consult a professional for further inspection. |
Remember, regular maintenance and timely replacement of car batteries are crucial in ensuring optimal performance and preventing unexpected breakdowns. Consult the vehicle’s manual for recommended battery specifications and consider factors such as warranty and cost when replacing a battery.
Battery Replacement Considerations
If your car battery consistently fails, it may be necessary to replace it. Consider these factors and consult your vehicle’s manual for the correct battery specifications.
When it comes to replacing your car battery, there are a few key factors to take into consideration. First, ensure that you choose a battery that is compatible with your vehicle’s make, model, and year. Consulting your vehicle’s manual will provide you with the specific battery specifications that you need to look for.
Additionally, it’s important to consider the battery’s size, capacity, and type. The battery size refers to its dimensions, which need to fit within your vehicle’s battery compartment. The capacity, measured in ampere-hours (Ah), indicates the amount of charge the battery can store. Choosing a battery with the appropriate capacity ensures that it can meet your vehicle’s power requirements.
Lastly, consider the type of battery that is best suited for your needs. There are various types available, including traditional lead-acid batteries, absorbed glass mat (AGM) batteries, and lithium-ion batteries. Each type has its own advantages and disadvantages, so it’s important to weigh the factors that are most important to you, such as cost, performance, and maintenance requirements.
| Factor | Consideration |
|---|---|
| Compatibility | Ensure the battery is compatible with your vehicle’s make, model, and year. |
| Size | Choose a battery that fits within your vehicle’s battery compartment. |
| Capacity | Consider the battery’s ampere-hour (Ah) rating to meet your vehicle’s power requirements. |
| Type | Weigh the advantages and disadvantages of different battery types. |
By considering these factors and consulting your vehicle’s manual for the proper battery specifications, you can ensure that you choose the right battery for your car. Taking the time to replace your battery with the correct one will help optimize your vehicle’s performance and prevent future battery issues.
Jump Start Safety Precautions
Jump starting a car carries potential risks, so it’s essential to follow safety precautions to prevent accidents and injuries. Before attempting a jump start, make sure to review the following safety guidelines:
- Ensure both vehicles are in park or neutral with the parking brakes engaged.
- Turn off the ignition and any other electrical accessories in both vehicles.
- Wear protective gloves and safety glasses to avoid contact with battery acid or any other harmful substances.
- Inspect the jumper cables for any signs of damage such as frayed wires or exposed metal, and do not use them if they are compromised.
- Keep the jumper cables away from any moving parts, such as belts or fans, to prevent accidents.
- Do not smoke or create sparks near the battery, as it can cause an explosion.
- Ensure that the jumper cable clamps do not touch each other or any metal surfaces other than the designated terminals.
- Once the vehicles are running, remove the jumper cables in the reverse order they were connected.
- Drive the recently jump-started vehicle for at least 15 minutes to allow the battery to recharge fully.
By following these safety precautions, you can minimize the risks associated with jump starting a car and ensure a safe and successful jump start process.
Conclusion
Properly jump starting a car with a diesel engine can get you back on the road quickly and safely, ensuring a smooth driving experience. To jump start a car with a diesel engine, follow these steps:
- Make sure both vehicles are in park or neutral with the parking brakes on.
- Turn on the heater in the disabled vehicle to protect the electrical system.
- Ensure that all lights and electrical accessories in the disabled vehicle are turned off.
- Connect the jumper cables to the battery with thicker cables in a vehicle with dual batteries. If both vehicles have dual batteries with cables of the same thickness, use either battery for the jump. If there is only one battery, hook the cables up in the proper order.
- Connect the clamp on one end of the jumper cable to the positive terminal of the disabled vehicle’s battery.
- Connect the other end of the same jumper cable to the positive terminal of the source vehicle’s battery.
- Connect one end of the other jumper cable to the negative terminal of the source vehicle’s battery.
- Connect the other end of the jumper cable to an unpainted, metallic part of the disabled vehicle, away from moving parts.
- Start the engine of the source vehicle, then start the engine of the disabled vehicle.
- Let both engines run for a minute or two, longer if the battery has been dead for a while.
- Turn off the engine of the source vehicle.
- Remove the cable from the unpainted metal part of the disabled vehicle.
- Disconnect the cable from the positive terminals of both vehicles.
- Disconnect the cable from the negative terminal of the source vehicle.
- Drive the disabled vehicle for at least 15 minutes to fully charge the battery.
If the battery dies again after jump-starting, it may need to be replaced. Consult the vehicle’s manual for the proper battery specifications. It’s important to follow safety precautions and avoid smoking or touching the wires or devices when jump-starting.
FAQ
Q: How do I jump start a car with a Diesel Car?
A: To jump start a car with a Diesel Car, follow these steps:
Q: What should I do before attempting Diesel Car a jump start?
A: Diesel Car Before attempting a jump start, make sure both vehicles are in park or neutral with the parking brakes on. Turn on the heater in the disabled vehicle to protect the electrical system, and ensure that all lights and electrical accessories in the disabled vehicle are turned off.
Q: How do I properly connect the Diesel Car?
A: Connect the Diesel Car to the battery with thicker cables in a vehicle with dual batteries. If both vehicles have dual batteries with cables of the same thickness, use either battery for the jump. If there is only one battery, hook the cables up in the proper order. Connect the clamp on one end of the jumper cable to the positive terminal of the disabled vehicle’s battery, and the other end of the same jumper cable to the positive terminal of the source vehicle’s battery. Connect one end of the other jumper cable to the negative terminal of the source vehicle’s battery, and the other end of the jumper cable to an unpainted, metallic part of the disabled vehicle, away from moving parts.
Q: How do I start the vehicles after connecting the jumper cables?
A: Start the engine of the source vehicle, then start the engine of the disabled vehicle. Let both engines run for a minute or two, longer if the battery has been dead for a while. Once the engines are running, turn off the engine of the source vehicle.
Q: How do I safely disconnect the jumper cables?
A: To safely disconnect the Diesel Car, remove the cable from the unpainted metal part of the disabled vehicle first. Then, disconnect the cable from the positive terminals of both vehicles. Finally, disconnect the cable from the negative terminal of the source vehicle.
Q: How long should I drive the disabled vehicle after jump-starting?
A: It is recommended to drive the disabled vehicle for at least 15 minutes to fully charge the battery.
Q: What should I do if the battery dies again after jump-starting?
A: If the battery dies again after jump-starting, it may need to be replaced. Consult the vehicle’s manual for the proper battery specifications.
Q: What safety precautions should I follow when jump-starting a car?
A: When jump-starting a car, it is important to follow safety precautions. Avoid smoking or touching the wires or devices during the process to prevent accidents or damage to the electrical system.
Source Links
- https://www.dummies.com/article/home-auto-hobbies/automotive/car-repair-maintenance/general-car-repair-maintenance/how-to-jump-start-a-diesel-powered-automobile-196438/
- https://puredieselpower.com/blog/jumpstart-diesel-truck-two-batteries
- https://getjerry.com/questions/how-do-you-jump-start-a-diesel-truck