
How to Install a Car Stereo System
Are you tired of driving around with a mediocre sound system? Do you want to upgrade your car’s audio experience without breaking the bank? Well, you’re in luck because installing a car stereo system yourself is easier than you think.
In this comprehensive guide, I will walk you through the entire process of installing a car stereo system step-by-step. Whether you’re a beginner or have some experience with car audio installations, this guide will equip you with the knowledge and tools necessary to complete the installation process successfully.
Key Takeaways
- Installing a car stereo system yourself can save you money and give you a sense of accomplishment.
- With the right tools and preparation, the installation process can be smooth and hassle-free.
- Proper wiring and connections are crucial for the functionality and performance of your car stereo system.
- Upgrading the speakers in your car can significantly improve your audio experience.
- Test the system thoroughly and make any necessary adjustments to ensure optimal performance.
Essential Tools and Preparation for Car Stereo Installation
Before you start installing your new car stereo system, it’s crucial to have the right tools and prepare your car for the installation process. Here are some car stereo installation tips that will ensure a smooth and successful installation:
Gather the Necessary Tools
Having the right tools at hand can make a significant difference in the installation process. Here’s a list of some of the best car stereo installation tools:
| Tool | Description |
|---|---|
| Screwdrivers | Flat and Phillips-head screwdrivers |
| Wire strippers | Used to strip the insulation from wires |
| Crimping tool | Used for connecting wires together |
| Pliers | Used for gripping and bending wires |
| Tape measure | Used for measuring the size of the new stereo system and mounting kit |
| Electrical tape | Used for securing connections and preventing short circuits |
Make sure to check the installation manual for any additional tools required for your specific car stereo system.
Prepare Your Car
Proper preparation of your car can prevent damage during the installation process, so it’s essential to take the following steps:
- Disconnect the negative battery terminal to avoid electrical shock or damage to the system.
- Remove any existing stereo system or components from the dashboard.
- Check the wiring harness and make sure it’s compatible with your car’s stereo system.
- Prepare the mounting brackets by attaching them to the new car stereo and adjusting them according to the size of your car’s dashboard.
- Check the size of the dashboard opening to ensure proper fitment of the new stereo system.
By following these car stereo installation tips and preparing your car beforehand, you’ll ensure a successful and hassle-free installation process.

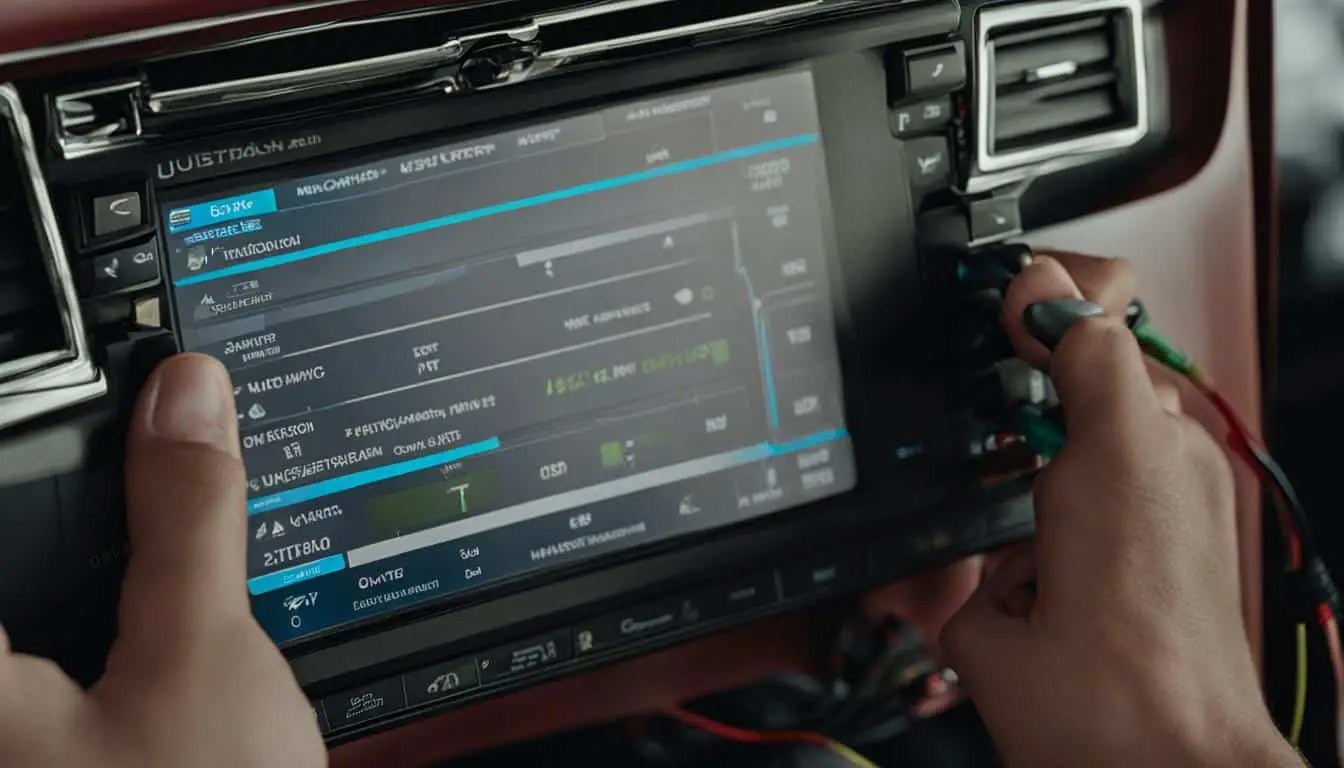
Wiring and Connections: Step-by-Step Guide
Proper wiring and connections are crucial for the functionality and performance of your car stereo system. In this section, I will guide you through the process, including how to read a car stereo wiring diagram and the use of a wiring harness. Follow these steps carefully to ensure a successful installation.
Understanding Car Stereo Wiring Diagrams
The first step in wiring your car stereo system is to understand the wiring diagram. This diagram will show you the color-coding for each wire and the specific functions of each connection. It’s crucial to have a clear understanding of the wiring diagram before proceeding with the installation process.
Using a Wiring Harness
A wiring harness is a pre-made set of wires with connectors that are designed to plug directly into your car’s factory wiring. Using a wiring harness can significantly simplify the installation process and reduce the risk of damaging your car’s electrical system.
Before connecting the wiring harness, be sure to carefully match the wires according to the wiring diagram. Once the wires are matched correctly, connect the wiring harness to the car’s factory wiring, then connect the other end to your car stereo.
Connecting the Power Supply
The power supply is a crucial component in your car stereo system. Before making any connections, ensure that the car’s battery is disconnected to avoid any potential electrical hazards.
Next, carefully connect the power supply to your car stereo system, matching the positive and negative wires to the corresponding terminals. Ensure that all connections are tight and secure before proceeding to the next step.
Connecting the Speakers
Connecting the speakers to your car stereo system can make a significant impact on your audio experience. To properly connect the speakers, match the positive and negative wires to the corresponding terminals on both the speakers and the car stereo system.
Testing the Connections
Once all the connections are made, it’s essential to test the system thoroughly before finishing the installation. Turn on the car stereo and listen for any potential issues with the sound or electrical connections. If you encounter any problems, double-check the wiring and connections before proceeding with the installation.
By following these steps, you’ll be able to install your car stereo system with confidence. Remember to take your time and double-check all connections to ensure optimal performance and functionality.
Installing Car Speakers: A DIY Tutorial
If you’re looking to upgrade your audio system, installing new car speakers is a great way to enhance your sound quality. With the help of this step-by-step tutorial, you can learn how to install car speakers on your own without any professional help.
Step 1: Gather Your Tools
Before you get started, make sure you have all the necessary tools at hand. Here are some of the essential tools you’ll need:
- Screwdrivers
- Wiring crimpers
- Wire strippers
- Pliers
- Socket wrench set
It’s important to have the right tools to avoid any damage to your vehicle or new speakers.
Step 2: Remove Old Speakers
The first step in installing new car speakers is to remove the old ones. Here are the basic steps:
- Remove any screws or bolts holding the speakers in place.
- Carefully disconnect the speaker wires.
- Remove the old speaker and any brackets or screws.
Be careful not to damage any wires or components while removing the old speaker.
Step 3: Prepare New Speakers
Now it’s time to prepare your new speakers for installation:
- Check the speaker’s fit in the mounting location to ensure a tight fit.
- If necessary, use a mounting bracket or adapter to fit the new speaker.
- Connect the speaker wires to the new speaker using wiring crimpers or wire connectors.
Make sure the connections are tight and secure but be careful not to over-tighten and damage the wires.
Step 4: Install the New Speakers
With your new speakers prepared, it’s time to install them in your car:
- Position the new speaker in the mounting location and secure it using screws or bolts.
- Connect the speaker wires to the car’s wiring harness.
- Test the speaker to make sure it’s working correctly.
If everything is working correctly, you’re all set! You’ve successfully installed car speakers on your own.

“Installing new car speakers can seem intimidating, but with the right tools and steps, it can be a straightforward process. By doing it yourself, you can save money and enhance your audio system’s sound quality.”
Conclusion
By following these steps, you have successfully installed your own car stereo system and speakers. Take pride in the fact that you have saved money and gained valuable knowledge on car audio installations. Remember to test the system thoroughly and make any necessary adjustments to ensure optimal performance.
Final Thoughts
Whether you’re a beginner or have some experience with car audio installations, installing your own car stereo system can be a fun and rewarding experience. By properly preparing beforehand and following each step carefully, you can upgrade your entertainment system without the need for professional help.
Enjoy Your New Car Audio System
Now that you have installed your own car stereo system and speakers, sit back and enjoy your new and improved driving experience. With your favorite tunes blasting through your newly installed car audio system, you can hit the road with a smile on your face.
FAQ
Can I install a car stereo system on my own?
Yes, you can install a car stereo system on your own by following our step-by-step guide.
What tools do I need for car stereo installation?
Some essential tools for car stereo installation include wire strippers, crimping tool, electrical tape, screwdrivers, and panel removal tools.
How do I wire and connect my car stereo?
We provide a comprehensive guide on wiring and connections, including how to read a car stereo wiring diagram and the use of a wiring harness.
Can I install car speakers on my own?
Absolutely! Our detailed tutorial will guide you through the process of installing car speakers, from removing the old ones to wiring the new ones correctly.
What should I do after installing my car stereo system?
Don’t forget to thoroughly test the system and make any necessary adjustments to ensure optimal performance. Enjoy your enhanced driving experience with your new car stereo system!