
How to Install a Car Roof Rack: A Step-by-Step Guide
Installing a roof rack on your car may seem like a daunting task, but it doesn’t have to be. With the right tools and careful attention to detail, you can complete the installation process in no time. Whether you’re a seasoned DIY enthusiast or new to the world of car maintenance, this step-by-step guide will provide you with all the necessary information to install a car roof rack with ease.
Before you begin, it’s important to gather all the necessary tools and materials, including the roof rack itself, a screwdriver, a measuring tape, and any other equipment required by the manufacturer’s instructions. The type of roof on your car will also impact the installation process, so be sure to confirm compatibility with your vehicle.
Once you have all the materials ready, follow the instructions carefully, ensuring that all bolts and screws are securely fastened before use. By taking your time and following the instructions, you can enjoy a safe and smooth driving experience with the added benefit of extra storage space.
Key Takeaways:
- Installing a car roof rack can greatly enhance your vehicle’s storage capacity.
- Before beginning, gather all necessary materials and confirm compatibility with your vehicle.
- Follow the manufacturer’s instructions carefully and securely fasten all bolts and screws.
- Always prioritize safety throughout the installation process.
- Consult the manufacturer’s instructions for any specific requirements or recommendations.
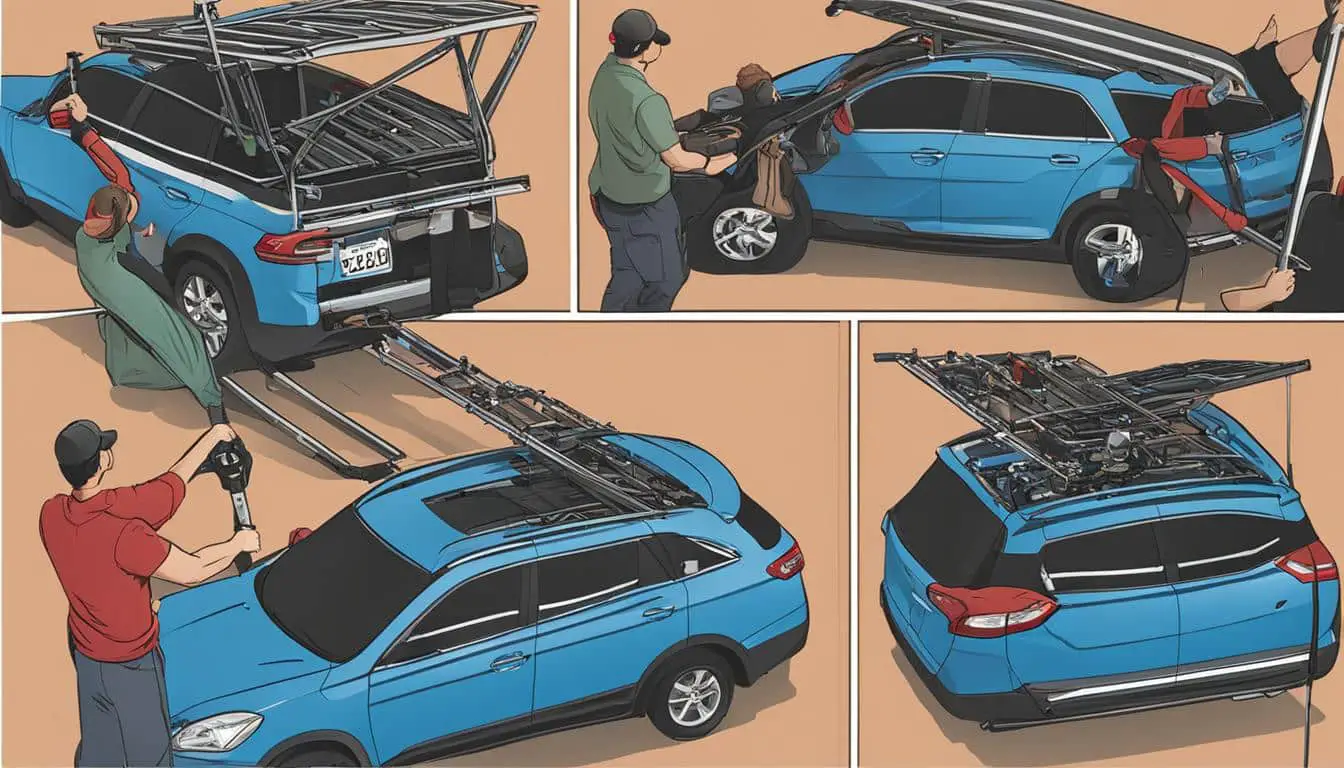
Step-by-Step Car Roof Rack Installation Process
If you’re looking to install a car roof rack, you’ve come to the right place. Follow these step-by-step instructions to make the process as easy as possible.
Gather the Necessary Tools
Before you begin, make sure you have all the necessary tools on hand:
- Wrench or socket set
- Tape measure
- Clean cloth
- Roof rack kit
Prepare the Roof
Before you install the roof rack, ensure that the roof of your car is clean and dry. Use a clean cloth to wipe away any dirt, debris, or residue that could interfere with the installation.
Position the Rack
Once the roof is clean and dry, position the rack on the roof according to the manufacturer’s instructions. Use a tape measure to ensure that the rack is properly aligned. This step is crucial to ensure a secure and stable installation.
Attach the Rack
Next, attach the rack to the roof of your car using the provided hardware. Make sure the bolts are tightened securely, but avoid over-tightening, as this can damage the roof of your car.
Test the Rack
After you’ve attached the rack, give it a firm shake to test its stability. You should feel confident that the rack is secure and won’t shift or slide around during use. If you notice any movement, double-check the bolts and make sure they are tightened properly.
Load the Rack
Now that your car roof rack is securely installed, you’re ready to load it up with your gear and hit the road. Be sure to distribute the weight evenly across the rack to avoid any shifting or instability during transit.

Tip: If you’re new to DIY car roof rack installation, consider enlisting the help of a friend or family member to ensure a safe and successful installation.
Follow these best practices for car roof rack installation, and you’ll be on your way to a more functional and versatile vehicle in no time.
Conclusion
In conclusion, the process of installing a car roof rack can be simple and straightforward if proper instructions are followed. By following the step-by-step guide provided in this car roof rack installation guide, you can successfully install your roof rack with confidence.
Remember to prioritize safety and consult the manufacturer’s instructions for any specific requirements. It’s also important to ensure that the roof rack is securely attached and doesn’t exceed the weight limit specified for your vehicle.
Final Thoughts
Investing in a car roof rack can greatly enhance your vehicle’s versatility and storage capacity, especially for those planning a road trip or outdoor adventure. With this car roof rack installation guide, you can easily and safely install your roof rack on your own.
Thank you for reading, and I hope this guide has been helpful in your car roof rack installation journey. Don’t hesitate to reach out to me if you have any questions or concerns regarding the installation process of your roof rack.
FAQ
How do I choose the right roof rack for my car?
When choosing a roof rack for your car, it’s essential to consider factors such as the weight capacity, roof type, and compatibility with your vehicle. Research different brands and models, consult the manufacturer’s recommendations, and utilize online resources to determine the best roof rack for your specific needs.
What tools do I need to install a car roof rack?
The tools required for installing a car roof rack may vary depending on the specific rack and your vehicle’s make and model. However, common tools typically include a wrench or socket set, screwdriver, measuring tape, and possibly a rubber mallet or similar tool for gently adjusting the rack. Always consult the manufacturer’s instructions for the recommended tools before starting the installation process.
Can I install a roof rack by myself?
Yes, many roof racks can be installed by yourself. However, it is essential to follow the manufacturer’s instructions and take necessary safety precautions. If you feel uncomfortable or uncertain about the installation process, it’s wise to seek professional assistance to ensure the roof rack is properly and securely installed.
How do I secure the items on my car roof rack?
To secure items on your car roof rack, use quality ratchet straps, bungee cords, or cargo nets. Make sure to distribute the weight evenly across the roof rack and secure the items tightly to prevent shifting during travel. Double-check the security of the load before setting off on your journey to ensure it remains stable and does not pose a safety risk.