DIY Guide: Installing New Car Seat Covers
As a car owner, you know that maintaining the condition of your vehicle’s interior is just as important as keeping the exterior looking its best. Installing new car seat covers is a great way to protect your seats from wear and tear, spills, and stains while also giving your car a fresh new look.
While you can hire a professional to install your car seat covers, it’s also a project that you can easily tackle on your own with the right tools and know-how. In this step-by-step guide, I’ll walk you through the process of installing new car seat covers so you can achieve a professional-looking finish without the added expense.
Key Takeaways:
- Installing new car seat covers is an easy and rewarding DIY project that can protect your car’s interior and give it a fresh new look.
- You can achieve professional-looking results by following a step-by-step guide and utilizing helpful tips.
- Be patient and take your time during the installation process to ensure a perfect fit and finish.
- It’s important to choose the right car seat covers for your vehicle and understand the installation process before getting started.
- With the right tools and a bit of confidence, you can successfully install car seat covers and enjoy a refreshed and stylish interior in no time.
How to Install Car Seat Covers: A Step-by-Step Guide
Installing new car seat covers is a straightforward process that can be accomplished with a few basic tools and a little patience. Here is a step-by-step guide to help you get it done:
Step 1: Prepare your vehicle
Before beginning installation, make sure your vehicle is clean and free of any debris or clutter. Remove any items from the seats and vacuum the interior to ensure a smooth surface for the new covers to be installed on.
Step 2: Remove old seat covers
Using a screwdriver, remove any screws or fasteners that are holding the old seat covers in place. If the covers are attached with hooks or clips, carefully remove them using a pair of pliers or a trim removal tool. Once all attachments have been removed, gently pull the covers off the seats.
Step 3: Install new covers
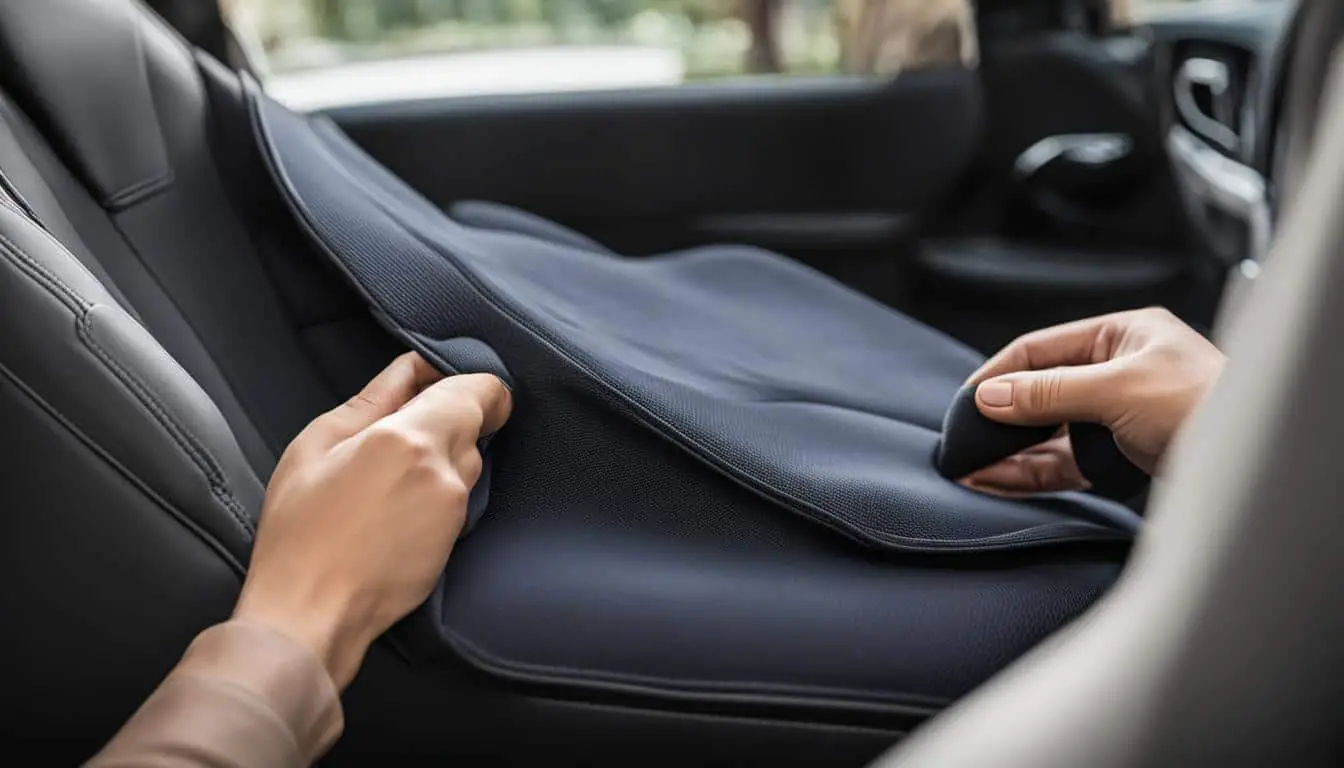
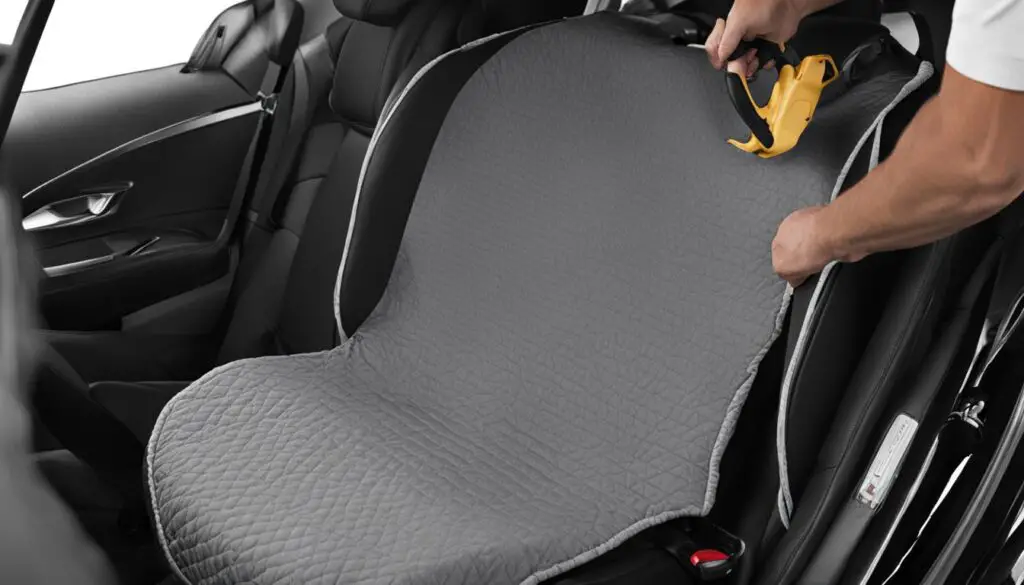
Start by positioning the new cover over the seat, making sure that it is aligned correctly. Begin tucking the edges of the cover into the crevices of the seat, working your way around the seat until all edges are securely tucked in. Use the provided hooks or clips to fasten the cover in place, taking care to ensure a smooth and snug fit.
If your new seat covers require additional strapping or attachments for a secure fit, consult the manufacturer’s instructions for specific guidance on installation.
Step 4: Test for fit and adjust as needed
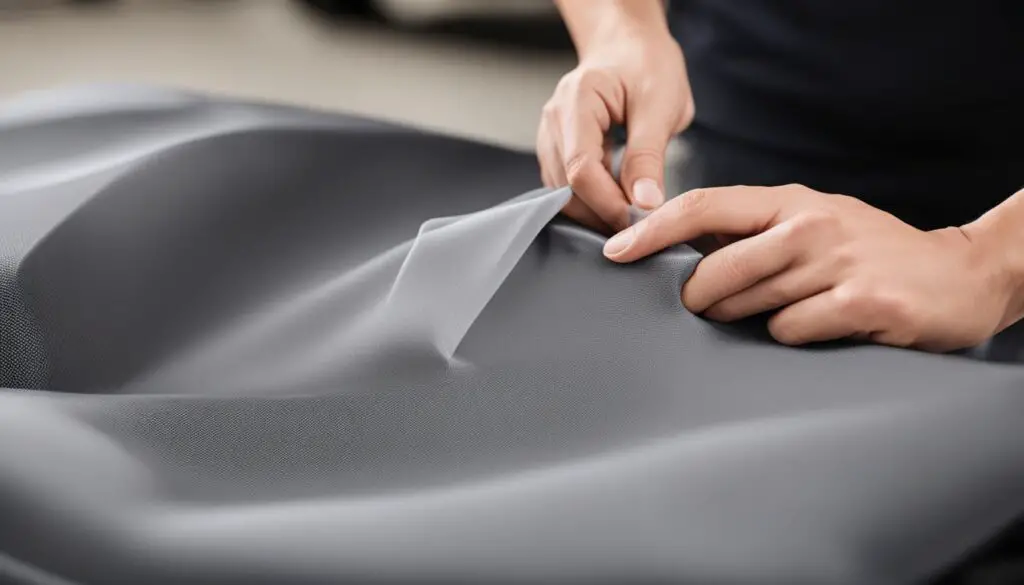
Once the new covers are installed, take some time to sit in the seats and check for any areas that may need to be adjusted for a better fit. Use your hands to smooth out any wrinkles or bumps on the covers, taking care not to damage the material. Adjust the fasteners as needed to achieve the best fit possible.
Step 5: Clean up
Dispose of the old seat covers and any debris that may have accumulated during the installation process. Give your newly installed covers a final once-over with a lint roller or soft-bristled brush to remove any dust or debris, and enjoy your refreshed and stylish interior!

With this step-by-step guide, installing new car seat covers can be an easy and rewarding DIY project. By following these instructions and taking your time to ensure a snug and secure fit, you’ll be able to enjoy a fresh new look for your vehicle’s interior.
Tips for Easy Car Seat Cover Installation
Installing new car seat covers can be a daunting task, but with the right tips, the process can be much easier. Here are some tips for an easy car seat cover installation:
1. Prepare Your Materials
Before starting the installation, make sure you have all your materials in one place. Having all the necessary tools, including pliers and scissors, will make the installation process much smoother. Additionally, having a detailed installation manual or tutorial video can help to guide you through any tricky steps.
2. Clean Your Seats
It’s crucial to start with a clean slate when installing new car seat covers. Ensure your car seats are thoroughly cleaned and free of debris, dirt, and dust. This will ensure a firm fit and prevent any damage to the new covers.
3. Take Your Time
Installing new car seat covers requires patience and attention to detail. Don’t rush through the process, taking your time to ensure a snug and seamless fit. This will ensure that your new covers look and feel professional.
4. Follow the Instructions Carefully
It’s essential to follow the installation instructions carefully, step by step. Skipping or reordering steps can cause damage to your seats or the new covers, resulting in a shoddy installation. Take time to ensure you follow the instructions properly.
5. Use a Professional
If you’re unsure about the installation process, consider seeking the help of a professional. A trained technician can install your new covers quickly and safely, ensuring a perfect fit and a professional look. This may be the best option for those who don’t have the time or patience for a DIY installation.
By following these tips, you’ll be able to install new car seat covers with ease and achieve a professional-looking finish. Don’t hesitate to seek professional help or guidance if you’re unsure about any part of the process.

Conclusion
In conclusion, installing new car seat covers is a simple and rewarding DIY project that anyone can accomplish with the right tools and guide. Throughout this guide, I have provided a detailed step-by-step process to follow, ensuring that everything is covered, from preparation to installation.
Patience and Perseverance are Key
It is important to remember that installing car seat covers can take time, and it is vital to remain patient throughout the process. Rushing or becoming frustrated can lead to mistakes and poor results. With patience, perseverance, and attention to detail, you can achieve professional-looking results.
Professional Results with DIY Installation
By following the guide and utilizing the provided tips, you’ll be able to successfully install car seat covers and enjoy a refreshed and stylish interior that’s customized to your liking. Not only will you protect your vehicle’s interior, but you’ll also save money and achieve professional results that can rival those of a professional installation.
Thank you for taking the time to read this guide, and I hope you found it helpful. Happy DIY car seat cover installation!
FAQ
How do I choose the right car seat covers for my vehicle?
When selecting car seat covers, it’s important to consider the make and model of your vehicle, as well as the type of seats you have. Measure your seats to ensure a proper fit and choose a material that suits your needs, whether it be for protection or aesthetics.
What tools do I need for installing car seat covers?
The tools needed for car seat cover installation may vary depending on the specific instructions provided with your covers. However, common tools include a screwdriver, pliers, or other tools for removing clips or fasteners. It’s always a good idea to have a set of basic hand tools on hand for any unexpected challenges.
How do I prepare my vehicle for installing car seat covers?
Before installing car seat covers, thoroughly clean the seats to remove any dirt, debris, or stains. Use a vacuum cleaner or brush to eliminate dust and wipe down the seats with a mild detergent or upholstery cleaner. Allow the seats to dry completely before proceeding with the installation.
How do I remove the old car seat covers?
To remove the old car seat covers, start by locating any fasteners or clips that are securing them in place. Use a screwdriver or pliers to carefully remove these fasteners, taking care not to damage the seat or any other components. Once the fasteners are removed, gently pull the old covers off the seats.
How do I install the new car seat covers?
Begin by carefully fitting the new car seat covers over the seats, ensuring a snug and smooth fit. Follow any specific instructions provided with the covers for securing them in place, such as using elastic straps, hooks, or clips. Take your time to ensure each cover is correctly aligned and securely fastened.
How can I ensure a professional-looking installation?
To achieve a professional-looking installation, pay attention to detail and follow the step-by-step guide provided with the car seat covers. Take your time during each step, ensuring the covers are properly aligned and securely fastened. Smooth out any wrinkles or creases in the covers for a seamless and neat appearance.
